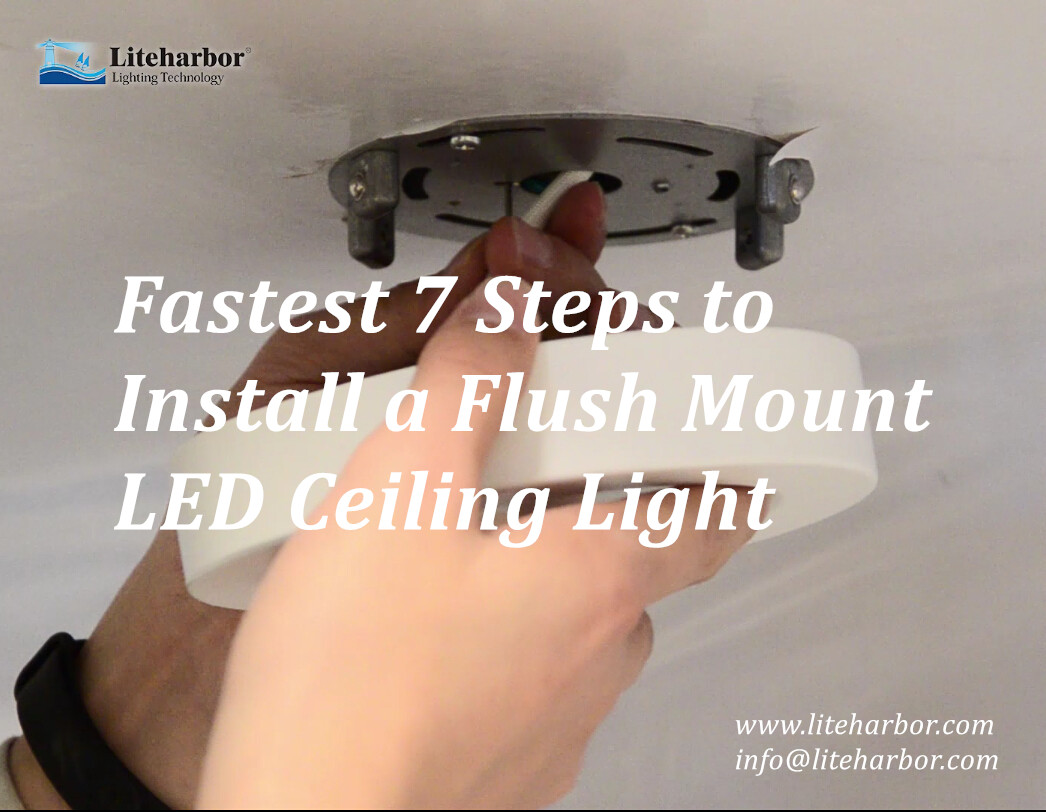
Fastest 7 Steps to Install a Flush Mount LED Ceiling Light
Fastest 7 Steps to Install a Flush Mount LED Ceiling Light
How to install a flush mount LED ceiling light?
How can I install a flush mount LED Ceiling Light in the fastest way?
Yes! Let’s start the fastest installation step by step. (Video included)
Step One
Remove the installation bracket from the back of the fixture.
Step Two
Attach the bracket to Junction Box using the 2 screws(provided)-pull the AC cable through the bracket center hole.
Step Three
When ready to make the wire connections, first install the Safety Installation Cable from light fixture by pushing into the “key hole” in bracket.
Step Four
Make the wire connections.
Step Five
Push and feed all wires up into Junction Box as you raise the fixture up into place.
Step Six
Align slots on the edge of fixture with the ball bearings on the mounting bracket and PUSH to lock fixture in place
Step Seven
Installed - Congratulations...
Enjoy the light!
Watch the Video of Easy Installation Step by Step – Liteharbor Lighting
https://www.youtube.com/watch?v=Yx6BnLFt2Tc
View More About Liteharbor LED Ceiling Light
http://www.liteharborfactory.com/ceiling-light/25.html
info@liteharbor.com
www.liteharborfactory.com
 RESOURCE