How to Install Your LED Retrofit Light
How to Install Your LED Retrofit Light
Step 1: Turn Off Power!
Before you take on an interior wiring job, you want to go to your breaker box and either switch off or remove the circuit breaker to the lighting in the room which is being upgraded. Working with a live 110-120V, 20A circuit while trying to attach a switch is extremely dangerous. Test to make sure that power is disabled, by either trying to turn on the light, or using a voltmeter.
If all you’re doing is installing the retrofit kit, then turning off power may seem pointless. But since you’ll be tugging on a wired Edison socket at one point, turning off power to the room is still a good idea. Do it.
 More LED retrofit kit
Step 2: Prep The Fixture
You turned off the power to the room, right? If not, go do that now.
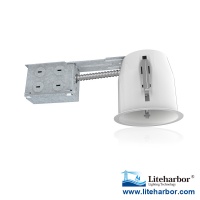
The interior of the particular recessed fixture houses the Edison socket and a bracket to set the correct height for the floodlight. Also attached are trim pieces: a plastic cone and surround for the light.
All that pretty trim gets removed.
The bracket which holds the lamp at a fixed height is also removed.
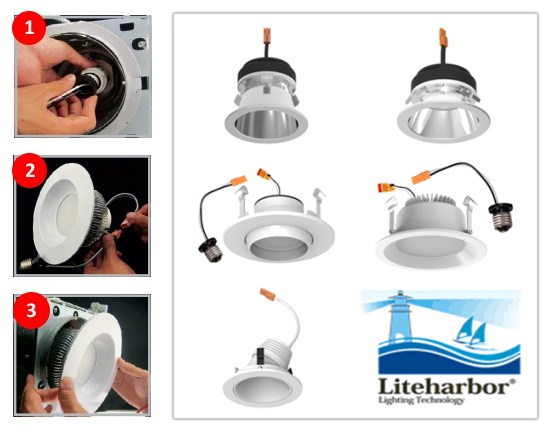
The retrofit kit includes a Cree LR6 light assembly mated to an Edison socket adapter. It also includes three stiff leaf springs to hold the light in place at whatever height is needed, as well as permanently attached trim.
You can see the leaf springs which hold the light in place.
After the original trim and bracket are removed, you pull down the socket a bit – as far as the wiring will allow. Then you screw in the Cree LR6 assembly. The instructions suggest rotating the leaf springs to their outermost setting before attaching the assembly to the socket, but it found a little easier to rotate the springs after the light was screwed in.
Just push the whole affair gently into the recessed can.
Once attached, just push the entire assembly gently into the can until the built-in trim is flush with the ceiling.
Step 3: Install The Switch
The old switch actually consisted of a pair of single-pole switches controlling two sets of lights in the room, installed behind a dual-switch plate.
The old switches were pretty simple.
If you’re uncomfortable with working with your home wiring, hire an electrician to wire the switch for you. Here is not showing photos of the particular installation, because it’s old enough that the wiring is all the same color, except for the bare ground. It was able to match up the wiring correctly by adding bits of tape with labels to ensure I didn’t reverse wire anything.
The Lutron dimmers were also pre-wired for three-way lighting, but this was just a single-pole application, so the extra wiring was capped off. This time around, It also oriented the two switches correctly, so the front switch manages the front set of lights.
More LED retrofit kit >>> http://www.liteharborfactory.com/led-retrofit-downlight/3.html
Website: www.liteharborfactory.com
Email: info@liteharbor.com

 RESOURCE

