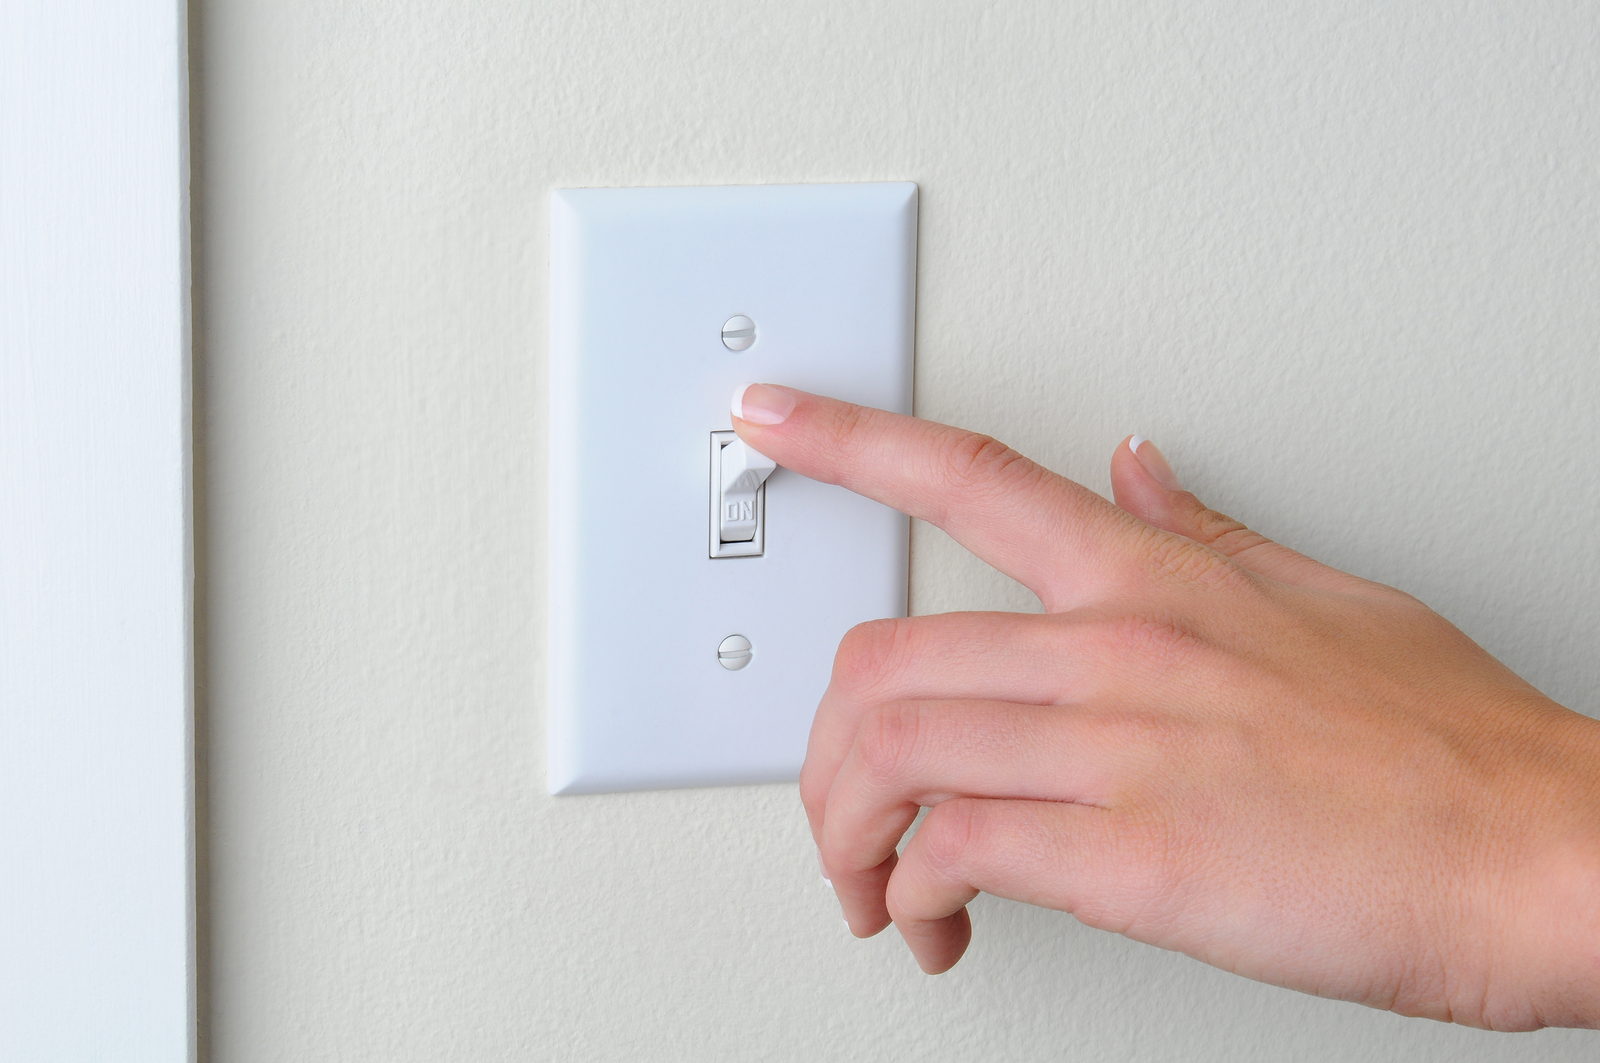
Easy Ways to Install A Light Switch
Easy Ways to Install A Light Switch
Some people get cold feet at the thought of working on electrical circuits, but installing a light switch is fairly easy and safe, with a little basic knowledge of wires. In the typical home, nearly all switches are of the single-pole variety, a control that turns the light on and off. This article tells you on how to install a single-pole switch.
Step 1 - Turn off Power Supply
Don't ever work on a circuit that has power running to it. Turn off the supply of power that runs into the circuit on which you intend to work.
Step 2 - Remove Old Switchplate
If you are replacing a light switch, first remove the switchplate of the old switch. Now, use the voltage tester to test the electrical wires that run to the current toggle, so you can be certain that they aren't powered. Place the device from the voltage tester on the grounded wire within the box, then touch the other device to the terminal screws of the switch or to the black wire which carries the electricity. There shouldn't be a voltage registration.
Step 3 - Remove Old Switch
Remove the 2 screws that hold the switch to the box. Gently, pull the switch out and disconnect all the wires. Using wire strippers, remove a 1/2-inch of the insulation at the end of the wires; be certain to straighten out the end of the wires before stripping and connecting them.
Step 4 - Wire the New Switch
Connect the wires. The black ones (often referred to as "hot") go to the terminal screws, it is of little matter which terminal each wire is attached to. Now connect the white wire in the outlet to the white wire from the service panel. The green wires are ground wires. Secure the ground wire to the grounding switch screw. If a ground wire is already attached to the switch, then wind the end jointly with the circuit's green wire, using the pliers, and attach it with a nut or compression sleeve.
Step 5 - Mount the New Switch
Fold the wires at the back of the switch back into the box; the green wire first, followed by the white wires and lastly, the black wires. Press the switch in carefully; you may damage the wire insulation by forcing the switch into the box. If the switch isn't fitting, try to rearrange the wires as flat as possible. Line up the switch by readjusting the screws in the slots, making certain that the switch is flat to the wall. Attach and tighten the switch.
Step 6 - Finish Up
Attach the switchplate, there should be screws provided. Last thing to do is to test your work. Turn the power supply to the circuit on and switch on the light.
And for more guidance, check out the video below on how to replace light switches .
Website: www.liteharborfactory.com
Email: info@liteharbor.com
 RESOURCE